

To use or not use a watermark on ones images. I can totally understand the reasoning behind why someone would want to place a watermark on their image — to prevent others from using our pictures without our permission. I’ve noticed a lot of people have started to watermark their own images on the web lately, and so it got me thinking, how can I create one for myself (without the use of a fancy program), just for those times when I feel like marking my photographs as mine before publishing it out on the web for everyone to see?
While playing around on photoshop, I realized it’s really quite easy to create a watermark to use on your own images. I decided to create a custom brush using text and an image (from my shop’s logo) which I would later use to apply my simple watermark.
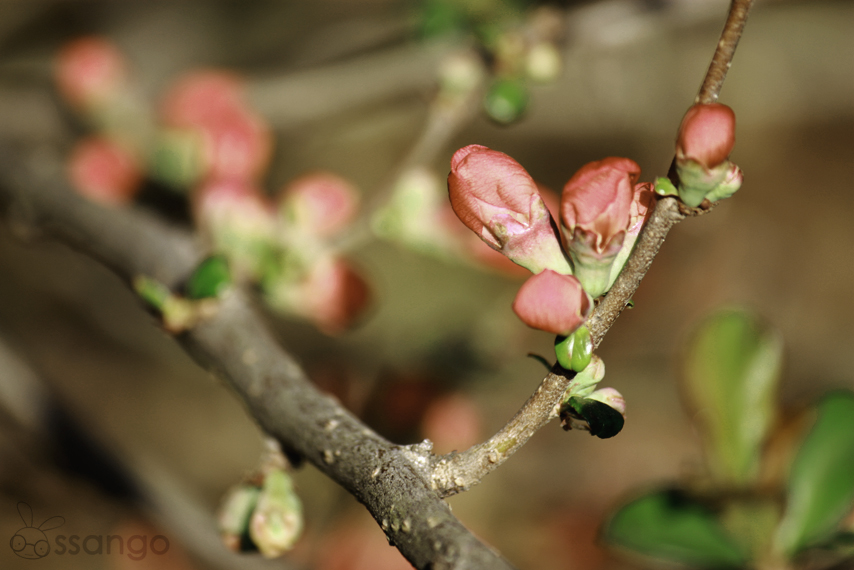
^you can click the above image to see my example watermark
Here’s how I did it:
- If using an image, resize the image so that it’ll fit into the new window you had created. Using the magic wand tool select any white space from the image and erase it using the eraser tool
It’s not necessary to do the last step, since I know some people like to have their logos/tags noticeably stand out from their image so that people know that it is clearly watermarked. I do that sometimes, but other times, I don’t want my watermark to intrude too much into my photograph, so I will carry out with the last step in order to blend it into the image a bit.
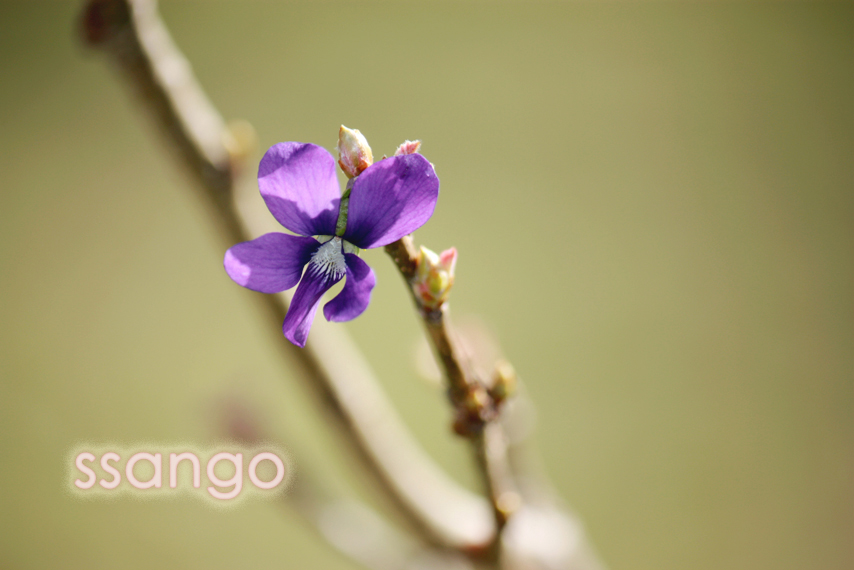
Here is another example where I kept the watermark more opaque. This time using a text only watermark, and leaving it blatantly obvious.
I think turning your custom watermark into a preset brush works best (compared to some other methods that I had read about), because you won’t have to enter text in all the time. Instead, it can be easily stamped onto your image/photograph and save you a bunch of time if you are planning on watermarking a whole bunch of images (:
I hope that this will be helpful to people who do not know how to create their own watermark, or their own preset brushes on photoshop (:
